Concept
The goal of my project was to deepen my understanding of physically based rendering by implementing and exploring path tracing and some related, visual improvement features to render an image which seemed cool. My project is a basic, unidirectional path tracer with added support for some additional materials and camera settings. As it is a path tracer, it is not intended to be interactive or to run real-time but rather to generate pretty pictures. While I did not do as much as I wanted to, I learned a lot and look forward to furthering my understanding on my own time in the future. As this was an assignment for a class, I can’t in good faith share the code for the sake of academic integrity. However, I will mention that this project landed me second place, which can be viewed in the provided link at the top of the page.
Functionality
I added a number of feature flags to the code so that I could turn functionality on or off as desired. This was mainly to make it easier for markers to tell what I had done, but now it useful to show off the different bits of functionality here. I will mention that these demo scenes include some things I threw together in Blender quickly before I understood how to use it, so you may notice some silly issues (e.g. bad vertex normals resulting in over-faceting), but please try to overlook them and focus on the features themselves.
Path Tracing
The goal here was to implement unidirectional path tracing with uniform hemisphere sampling. This one is kind of weird to show as it’s just “the whole project” basically. To try to show this properly, I’m using the default Cornell Box that we were given, with the only change to the scene being the addition of a plain area light. For the initial scene, a bunch of the enhancements are turned off to try to simulate non-path tracing. This is not going to be perfect, but it should serve to show how far we’ve come.
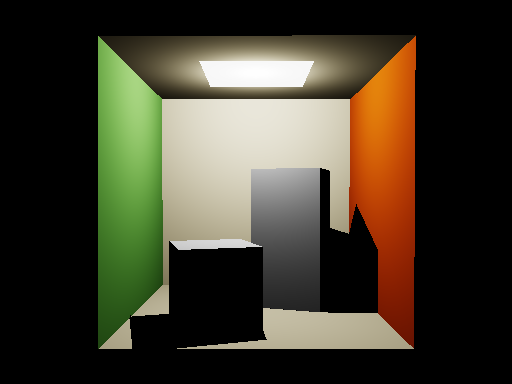
Now, we enable a bunch of the stuff that we did for path tracing. This should serve to show the softer shadows, the colouring reflecting between Lambertian surfaces, etc. that comes with the improved methods. Hopefully this is enough as a comparison.
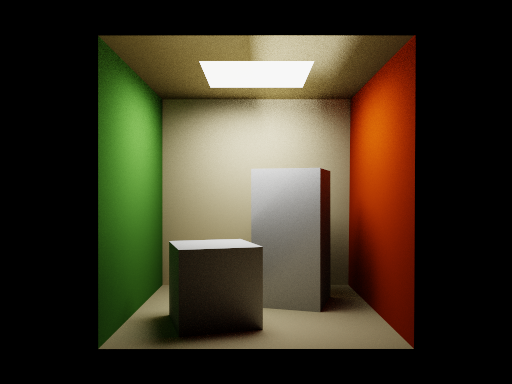
Multiple Importance Sampling
I wanted to add multiple importance sampling in for more efficient sampling. First of all, we need to not use it for comparison. Here’s what we see if we don’t do cosine weighted hemisphere sampling for Lambertian surfaces (just random in hemisphere), and also don’t use MIS for the lights.
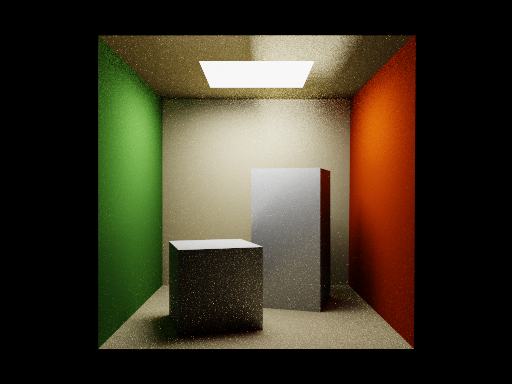
Now, add in cosign weighted hemisphere sampling for Lambertian surfaces.
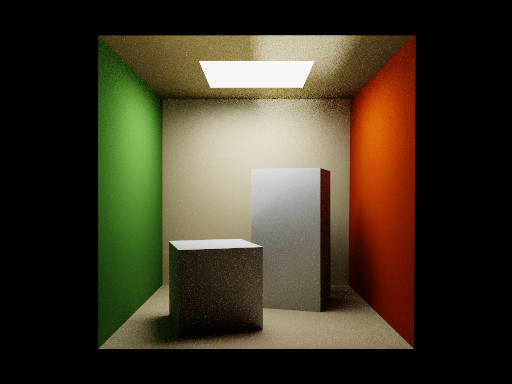
Finally, the last piece of the puzzle is added by importance sampling the lights as well, and then mixing it all together for MIS.
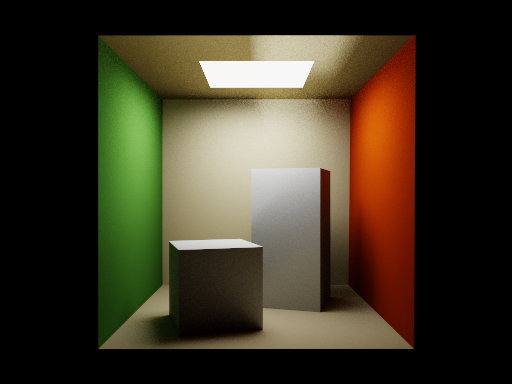
Textured Area Lights
Points lights can only go so far, so area lights are the way to go. Normal, and textured as well for more fun. First, just use a point light.
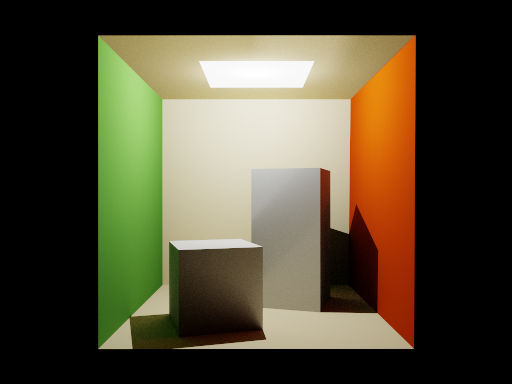
Now actually give the area light emission instead.
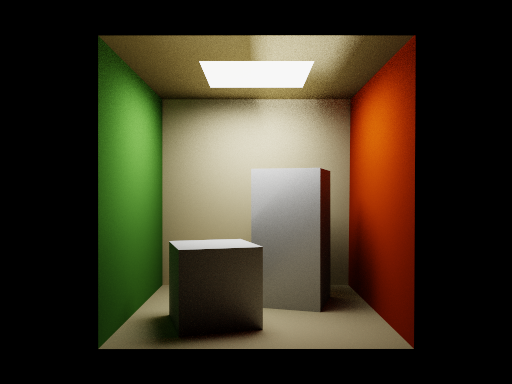
And we can also give the area light its own texture with which to emit. This texture is just a half-and-half coloured square, but it serves its demonstrative purpose.
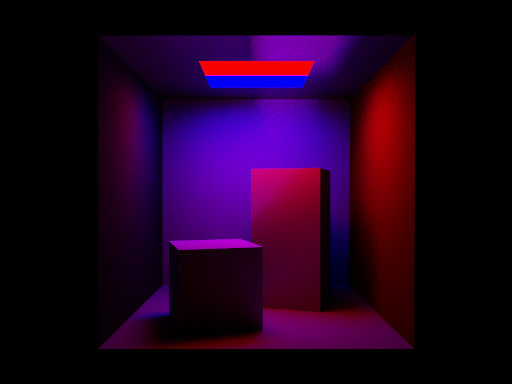
Microfacet Materials
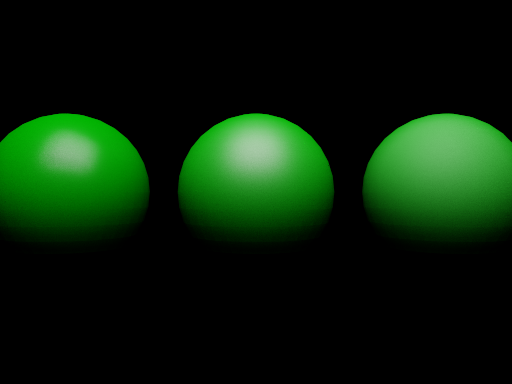
We already had Lambertian materials, as well as dielectrics (reflective / metal) and glass. Implementing microfacet materials with the GGX (Trowbridge and Reitz) distribution would allow for more interesting scenes. Here I’m displaying an array of objects with microfacet materials. These materials differ only in their roughness, where they get more rough as we go to the right.
Bump Mapping
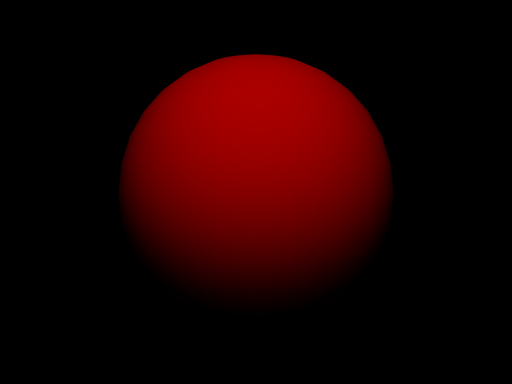
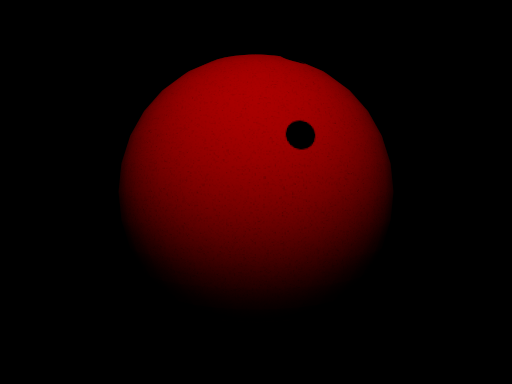
We can use bump mapping to add some fake details with the light. While this won’t hold up when looking at glancing angles, it can still look neat. Before applying the bump map, we get the standard red sphere.
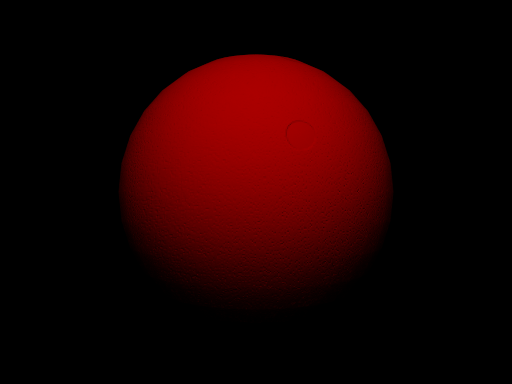
Then, apply the hastily-made bump map I made in Paint.net with noise and a circle.
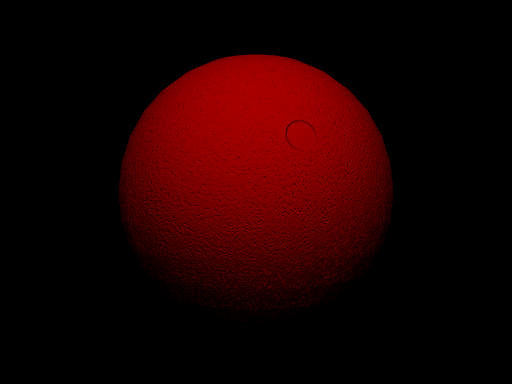
I added a parameter to scale the bump map influence, we can make the bump map go harder.
Purely for comparison, here’s what it would look like if the texture were used as a standard texture rather than as a bump map.
Depth of Field
To be closer to a normal camera, imperfections and all, I implemented depth of field with a thin lens approximation. Without depth of field, this shows all objects in focus.
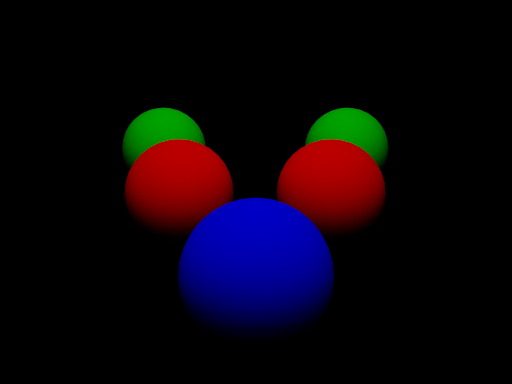
Now, turn on depth of field and focus on the closest object.
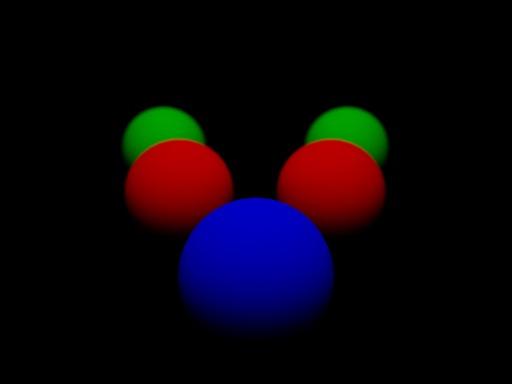
We can also make the objects out of focus appear blurrier by increasing the size of the aperture. I didn’t want it to get too disgusting so just moderately bumping it up so it is still distinguishable.
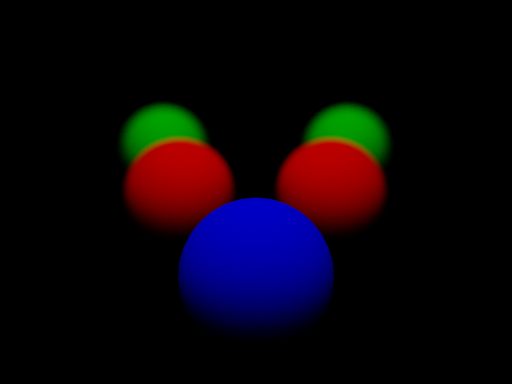
Then we can move the focus distance as well. This shows it focussing on the middle objects.
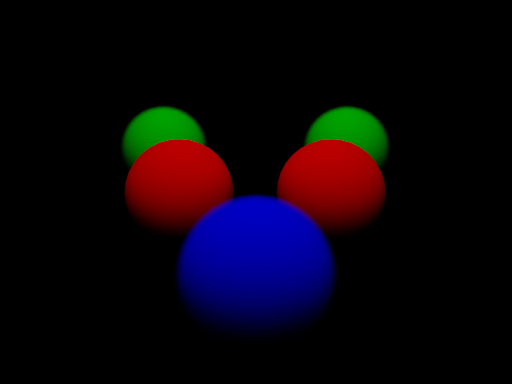
Finally, focus on the farthest objects, just for the sake of completeness.
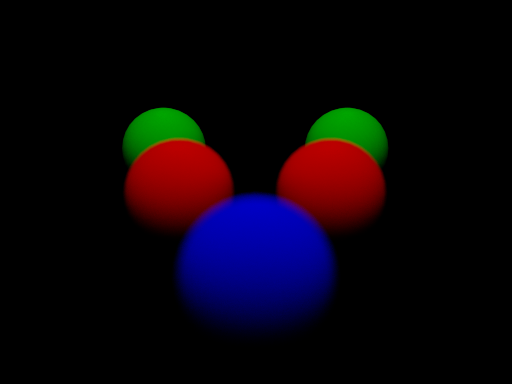
Motion Blur
Another camera effect is motion blur. One way to do this is to blur the frames together, such that it doesn’t matter if objects are moving or the camera is moving, it all blurs. Another way is to track the positions of the objects at the start and end of frames, and then sample across time as well as space so that the moving objects are blurred, independant of camera motion. The latter seemed more interesting so that’s what I tried. We want to see what it looks like without motion blur first, so let’s look at the 14th frame of the capture of a ball falling.
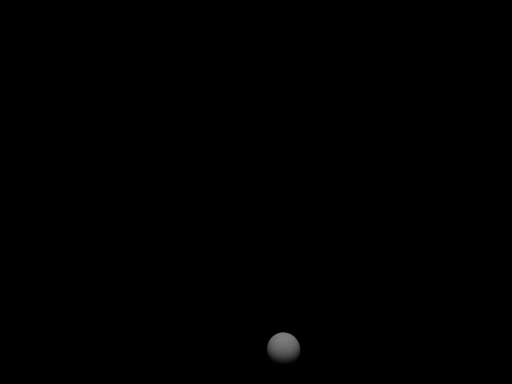
And now show it in motion.
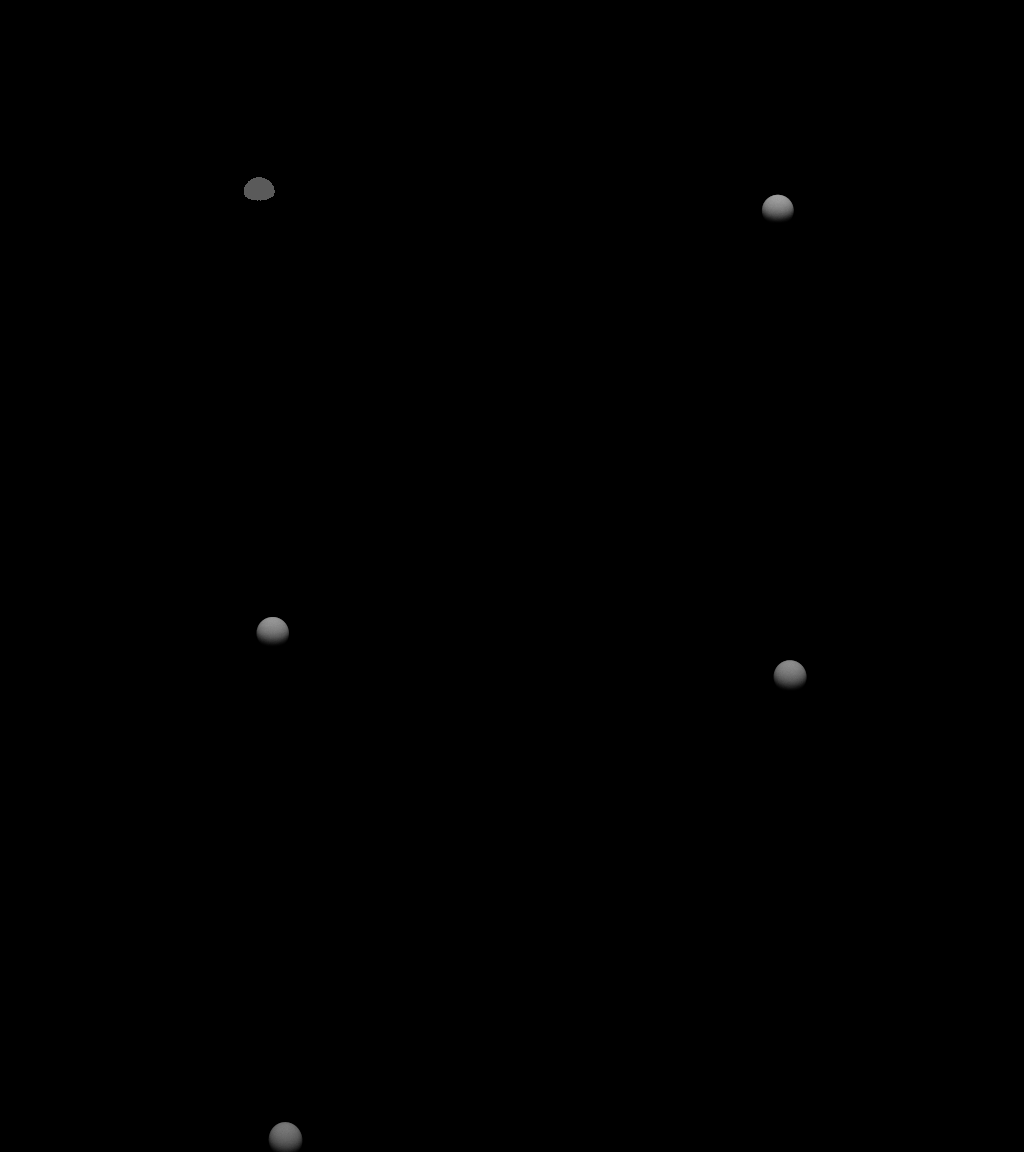
Now, with motion blur, we can once again look at the 14th frame.
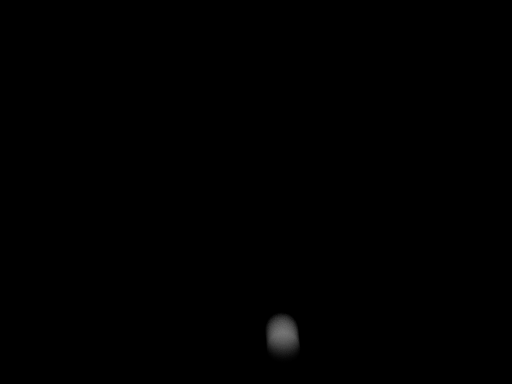
And once again in motion.
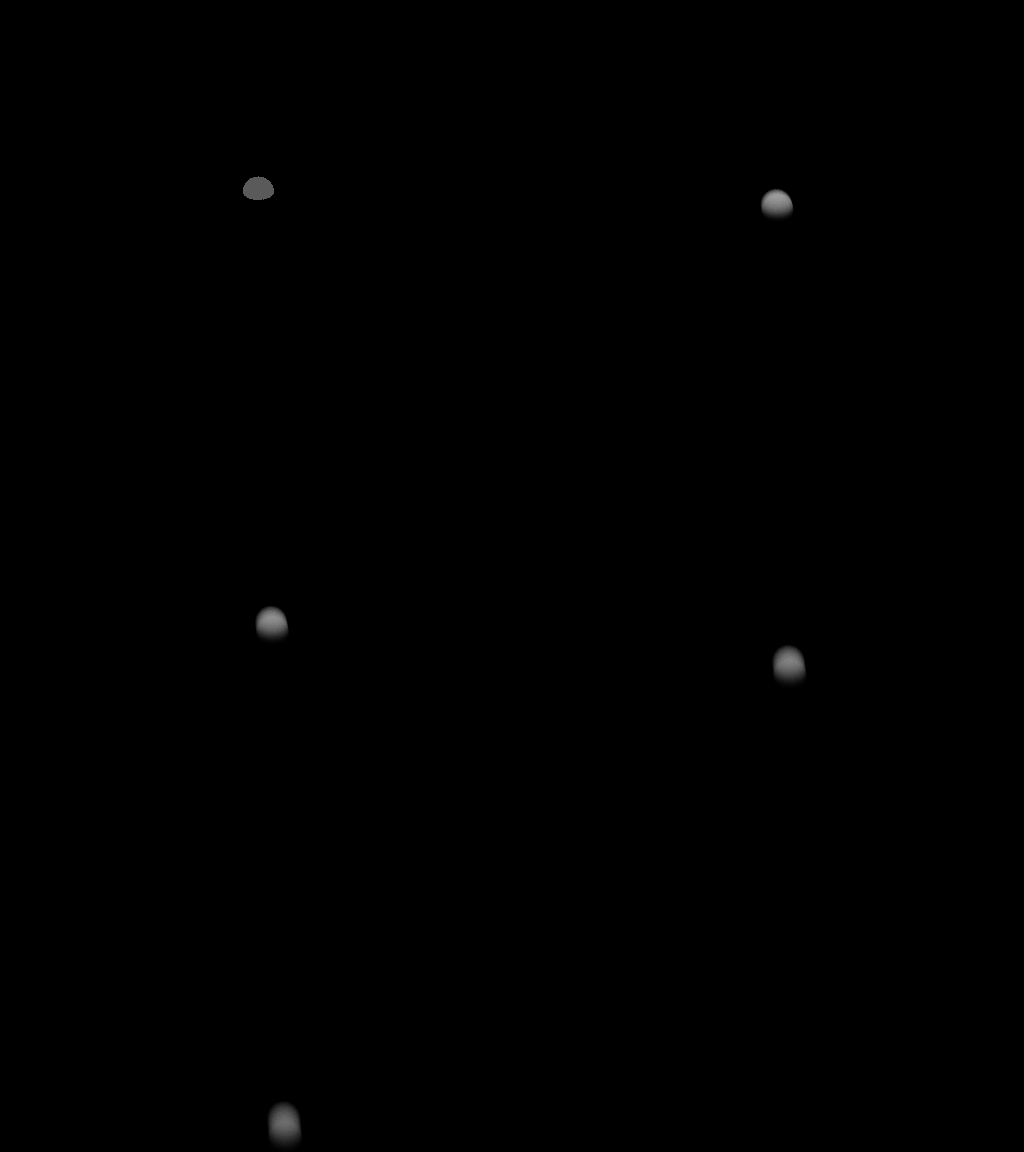
Final Scene
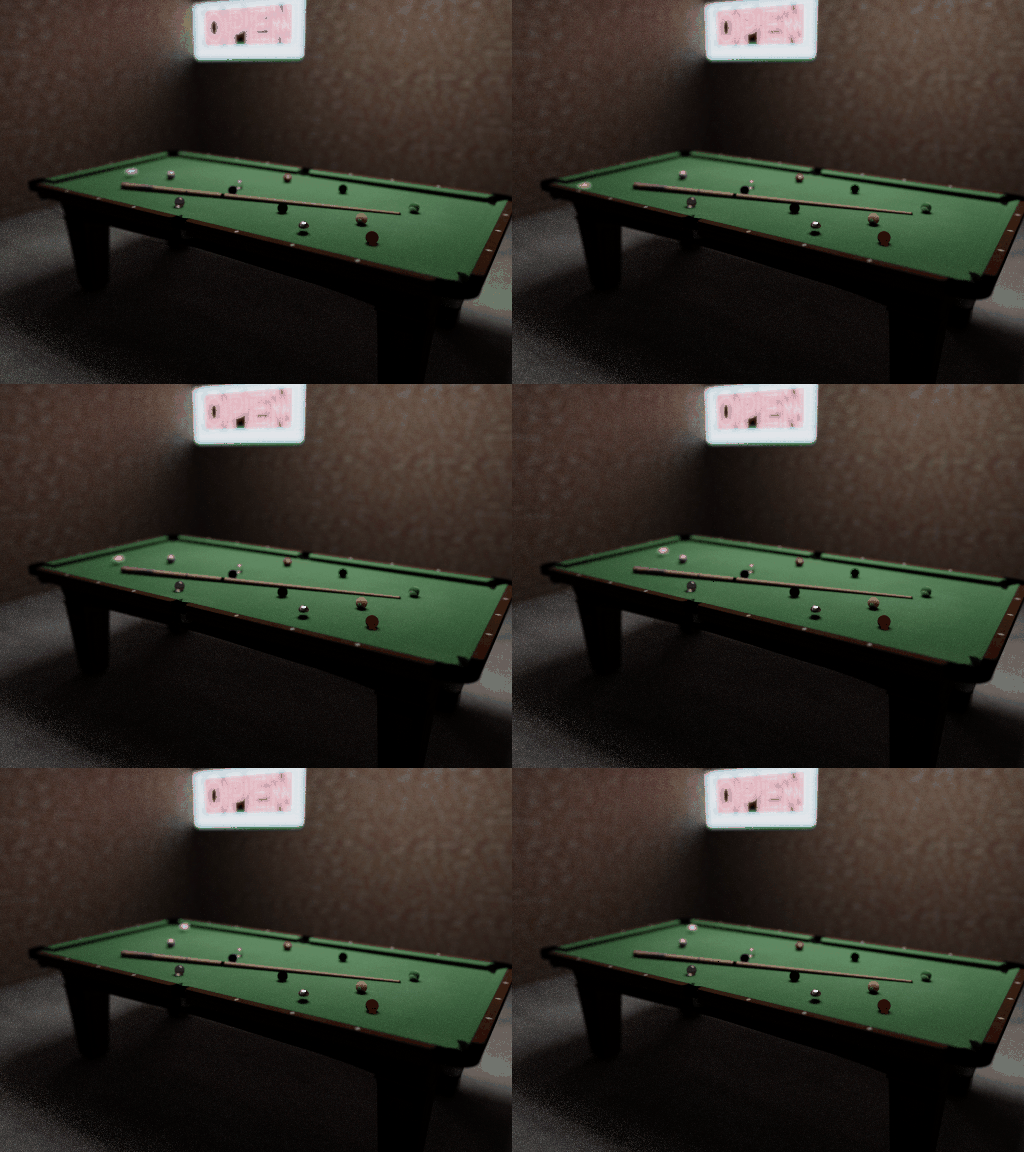
Putting it all together into a final scene which I created in a panic in Blender without knowing how to use the software with a deadline looming, we get the end result.
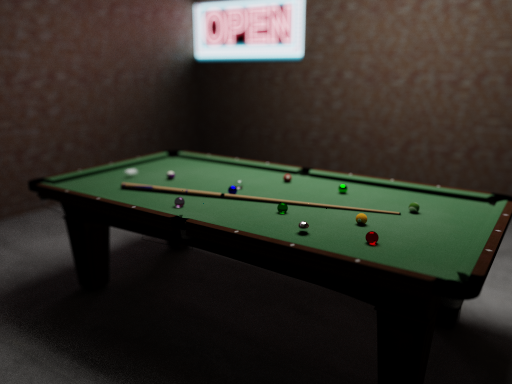
The depth of field makes it a little difficult to tell what’s going on, so we can turn it off to reduce the blurry mess.
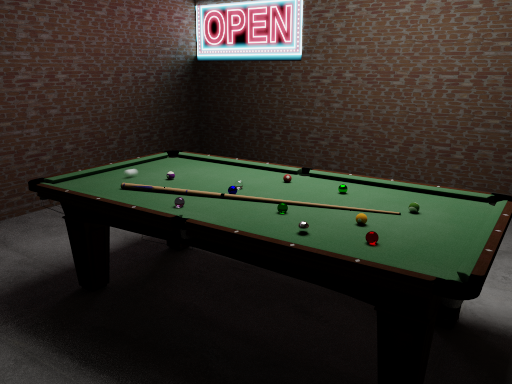
And here is it in motion, but using a much lower sample count for reasonable render times (1000 samples vs 8192 of the earlier images).
Credit
Credit where credit is due. I am no artist, so artistic assets are all taken from other places. This section serves to document these borrowings.
- Pool table model and textures, taken from this CGTrader post.
- Brick texture and the associated displacement texture, taken from this Poliigon post.
- Concrete texture, taken from this Poliigon post.
- Neon sign image, taken from this pngtree post.